Monday, March 29, 2010

Shaker table construction completed.

Saturday late afternoon I got the chance to run out and glue up the top to the Shaker Table and let it sit overnight in the clamps. Sunday I got to spend most of the day in the shop and got the bottom and top rails installed, cut the top down to its final size, and began to sand the be-Jesus out of it.


Got it down to 220 grit, installed the top (somewhere during the day I also installed the drawer stop in the back), and now, except for the drawer pull, construction is done.

This project had a lot of firsts for me. First Mortise and Tennon, first dovetail, first tapered legs, first COMPLETED project that started with rough wood.

All in all very satisfying.


Monday, March 15, 2010

Shaker, rattle, I'm on a roll

Got to spend quite a bit of time the shop this weekend and made a bit a progress on both of the pending projects.


The Woodworkers Fighting Cancer Shaker Table Build


Over the weekend I managed to get the aprons for the table cut, and the tennons made.  Following the advise of The Wood Whisperer I custome fit each tennon to its respective mortise.  Did a dry assembly, and finally got the carcass of the table glued up (in two stages).
 
I will have to do a little "evening" where one of the aprons meets one of the legs (I've got a 1/16th ridge where the apron ended up proud of the leg), but otherwise I'm pretty happy with how this is coming together.


I think the next thing on this table is going to be the top.

A counter top you can count on.

Got to spend quite a bit of time the shop this weekend and made a bit a progress on both of the pending projects.

The Cherry Counter Top for the Built-In

I got out my Kreg Mini and set about drilling 20 pocket holes in the center board of the counter top (10 on each side).  I got the Mini free when I ordered on of the Kreg clamps I got, and this thing is a joy to use on big pieces like this and I don't have to take my regular Kreg apart.


These pieces are so long I ended up using biscuits and pocket holes to put it together (the biscuits where really to help keep the pieces aligned over the whole 10' length).

Finally got out the glue and every clamp that I own that would open to 18"...


The I flipped the whole mess over and ran the 20 pocket screws home.  This worked really well as the pocket screws actually got some squeeze out from the places the clamps alone did not.


I even managed to get back to the piece about 45 minutes after the glue up to scrape away the squeeze out while it was in the "booger" stage.

Up next for this is a cutting to final size, and then lots and lots of sanding.  If I can "bump" into one of my neighbors down the street, he has a 20" planer and maybe I can him to let me make a few passes over the top of this; it would sure make this last step much easier....

Wednesday, March 3, 2010

Hot Knife, meet Butter

March is here and by end of the month I hope to have the top of the built-in together and installed, and of course the 
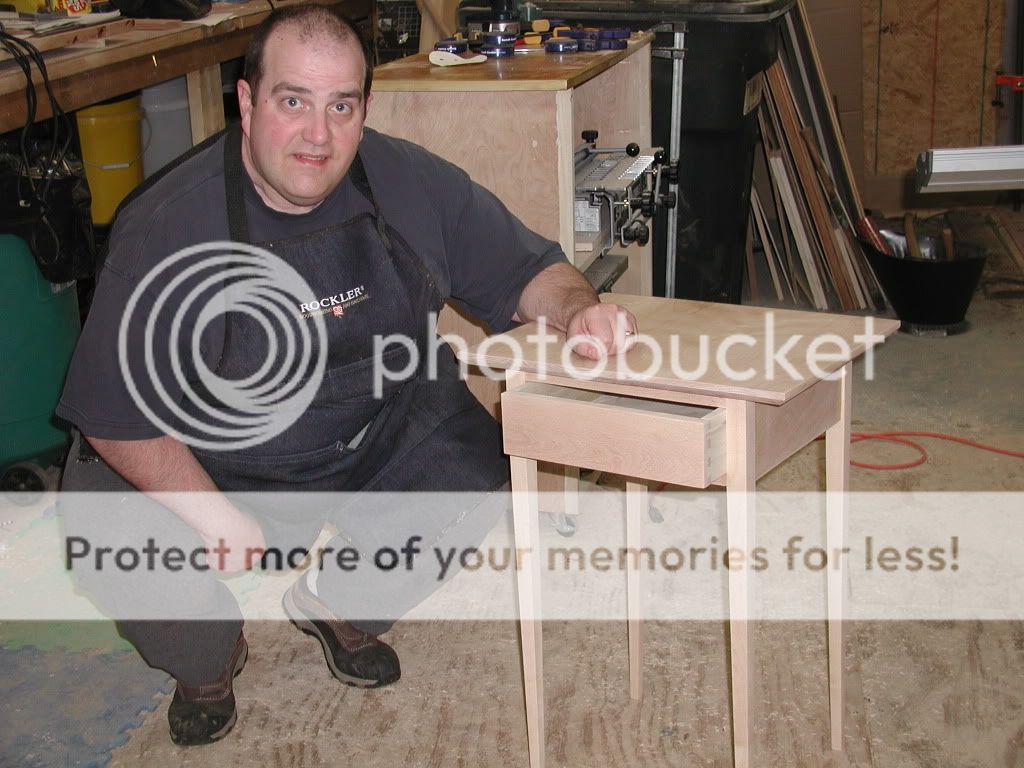
Woodworkers Fighting Cancer shaker table build (feel free to check it out and maybe make a small donation if you are so inclined).

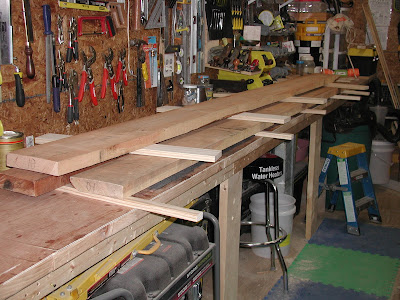
Last weekend I finished jointing and planeing the faces of the Cherry for top of the built-in.  All finished it ended up just over 1" thick, so that will make a nice top.  I still need to cut and joint the edges and I actually think I'll end up using my trusty circular saw and a nice straight edge to get them close as the boards are really rough along the edges right now varying buy as much as 3/4" on each side.  I think I can save myself a lot effort on the jointer buy smoothing it out with the circular saw first.

While I had everything set up for the Cherry, I went ahead and surfaced 3 sides of the 1 1/2 inch piece of birch I had selected for the legs of the Shaker Table.  After busting my hump working on 10' long pieces of cherry all day, this 6' piece of birch was a real pleasure to work with.

I finally called it quits Sunday afternoon and went in to dinner with my wife and mother (who comes over every Sunday for dinner).  A bit later that evening I went out to the shop to put some 18v batteries away that were left in the house after the previous 36 hours without power and saw that birch sitting there all clean and squared up... I thought I would just take a second and layout the legs on the board with a pencil, just to make sure they would all fit fine.  Well, 30 minutes later I ended up with 4 legs all cut out.


No if look close at the model of the table you will notice the legs are tapered (on two sides).  Most people would probably cut this taper on a band saw, however I do not currently own a band saw (30 days to my birthday!), so I had to come up with another way to do it.  Interestingly enough I found an old copy of HANDY (the magazine) while cleaning the house on Saturday, and while leafing through it before I filed it away one of their articles had a section on building a quick tapering jig for your table saw.  Armed with this information I went out Monday night and threw one together out of scrap I had laying around the shop.


Here it is "loaded" with one of the legs:

And a close up showing how the Jig leaves the first 6" of the leg square and then beings to taper the rest.


Last night I went out and actually ran the legs through the table saw to cut the tapers.  This was a little nerve wracking at first as this is one of the steps that you can really destroy a piece on, but things worked out great and the saw tore through the legs like, well, a hot knife through butter.  Here is a shot of one the legs after tapering.
Next up is cutting the mortises (or as my wife calls them the holey things) that the sides of the table will fit into (with tenons).